This section gives a brief overview of the options available for structuring a presentation presentation by using the so-called “Wizards”. Hannover Re staff are given detailed instructions for their use in in-house PowerPoint training courses.

The Wizards section
Use of “Agenda Wizard” to create divider slides and navigation items
For easier orientation, slides in a presentation can be grouped into chapters using a navigation scheme and/or divider slides. For this purpose, please use the “Agenda Wizard”.
Creating an agenda
You can choose between two different agenda layouts:
- The Hannover Re agenda layout in tabular form.
- The Hannover Re Divider layout especially useful for show-presentations; the divider slides are full-screen with a modern design.
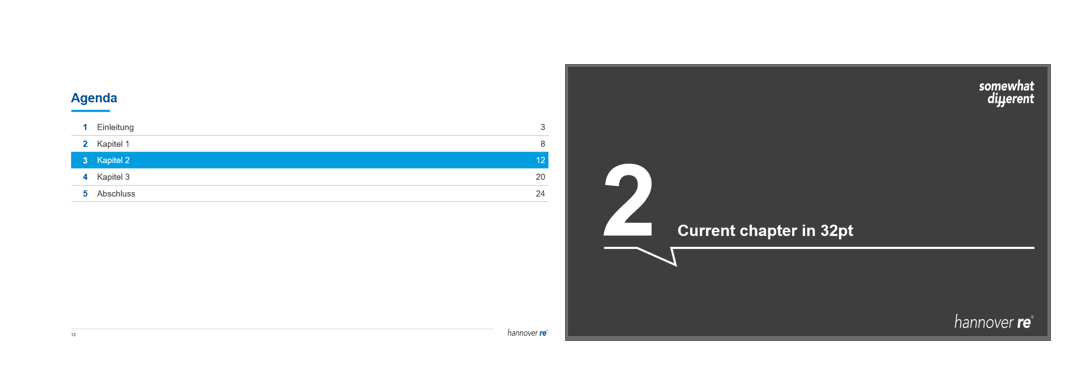
Left-hand: Hannover Re Layout; Right-hand: Hannover Re Divider
You can also compile a summary slide (agenda) from the divider slides and navigation entries. To do so, please observe the following:
- In Efficient Elements, click on the “Agenda” function and tick the “Overview” box in the “Slide” section.
- The navigation entries and page numbers are extracted to create a new summary slide.
Moreover, the Agenda Wizard provides you with different agenda options. By ticking the boxes in the “Columns” and “Options” row, you can add agenda elements (like time format or page numbers) individually.
Options for agenda details
Creating navigation entries
- Open the “Agenda Wizard”.
- In the entry mask, you can enter your chapters and also create the above mentioned summary slide. Using the “Divider” box on the bottom, you are able to show or hide them in your presentation.
- If you tick the “Divider” box, all divider slides are arranged at the end of your presentation. Afterwards, you need to move them manually to the right place by “Drag and Drop”
- The navigation bar is created automatically when saving your presentation, as long as the “Insert navigation item” box is ticked.
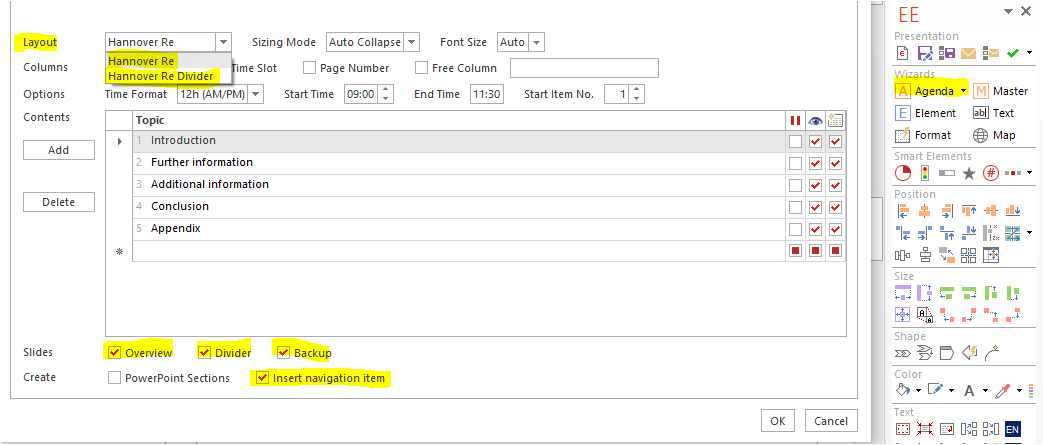
Settings for creating navigation items, summary and divider slides
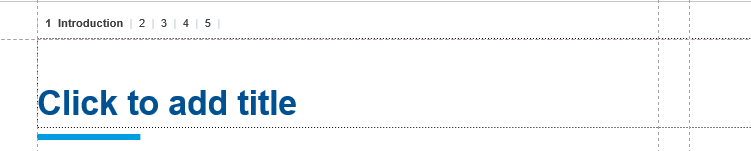
Navigation items
Changing/deleting navigation items
- You can rename the navigation entries at any time by opening the “Agenda Wizard” again enabling you to make the necessary adjustments. The navigation entry is updated automatically, as long as the “Insert navigation item” box is marked.
- To remove a single navigation entry, remove the chapter in the agenda mask.
- To remove the entire navigation, the box “Insert navigation item” must not be selected.
Page numbers
- In presentations, the title, agenda and chapter slides are counted and so are assigned a page number.
- Page numbers will be automatically up-dated upon saving.
- To hide page numbers please use the “Master Wizard” and activate them again there as well.
Footer, quote source details and conclusion box
Entering footer text
- As soon as you enter a presentation title on the title slide and you have saved your presentation, the presentation title is automatically transferred into the footer on the bottom left of every slide, next to the page number.
- You can show or hide the footer over the “Master Wizard” function.
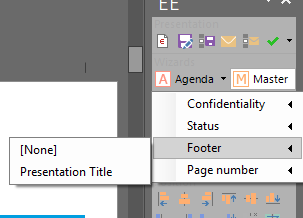
Filling the footer with the title of the presentation
Inserting source text
Source details are specially formatted and placed within the placeholder “Source or Footnote” which is already provided at the bottom of the slide. To make entering easier, please follow the following instructions:
- You can insert a standard textbox to enter your source text and format it correctly and automatically as “Source/Footnote” using the “Format Wizard” function.
- You can also find a predefined placeholder in the “Element Wizard” in the “Slide basics” folder which you may insert directly on your slide
- If your slide already has the placeholder “Source or footnote” at the bottom of the content area, you can simply enter your source text or delete the placeholder if it is not needed. You can use the key combination “Shift+Enter” to enter line breaks for footnotes with more than one line.
Inserting a conclusion box
You can visualise the important content of a slide by recapitulating it in a conclusion box for which we offer several options. In line with our Corporate Design, the text is always inserted under a speech bubble. You can use the following ways of inserting:
- Use the “Element Wizard” to choose the predefined sample in the “Slide elements” folder.
- Choose your version, click “Insert” and enter the text in the dialog box.
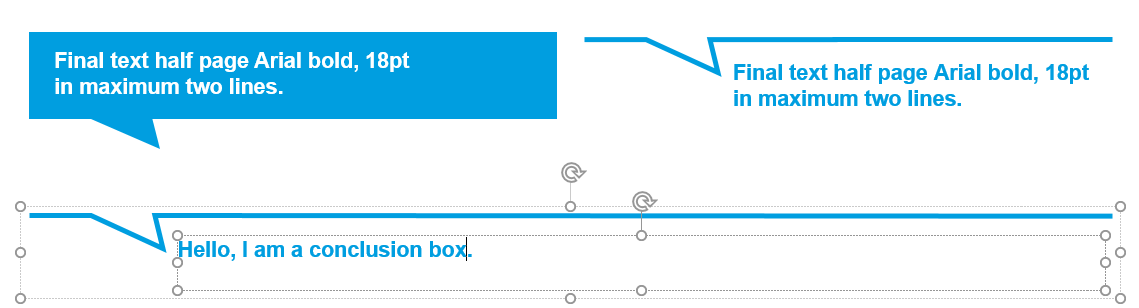
Examples of different conclusion boxes